Wednesday, May 29, 2013

Relaxed Roman Shades

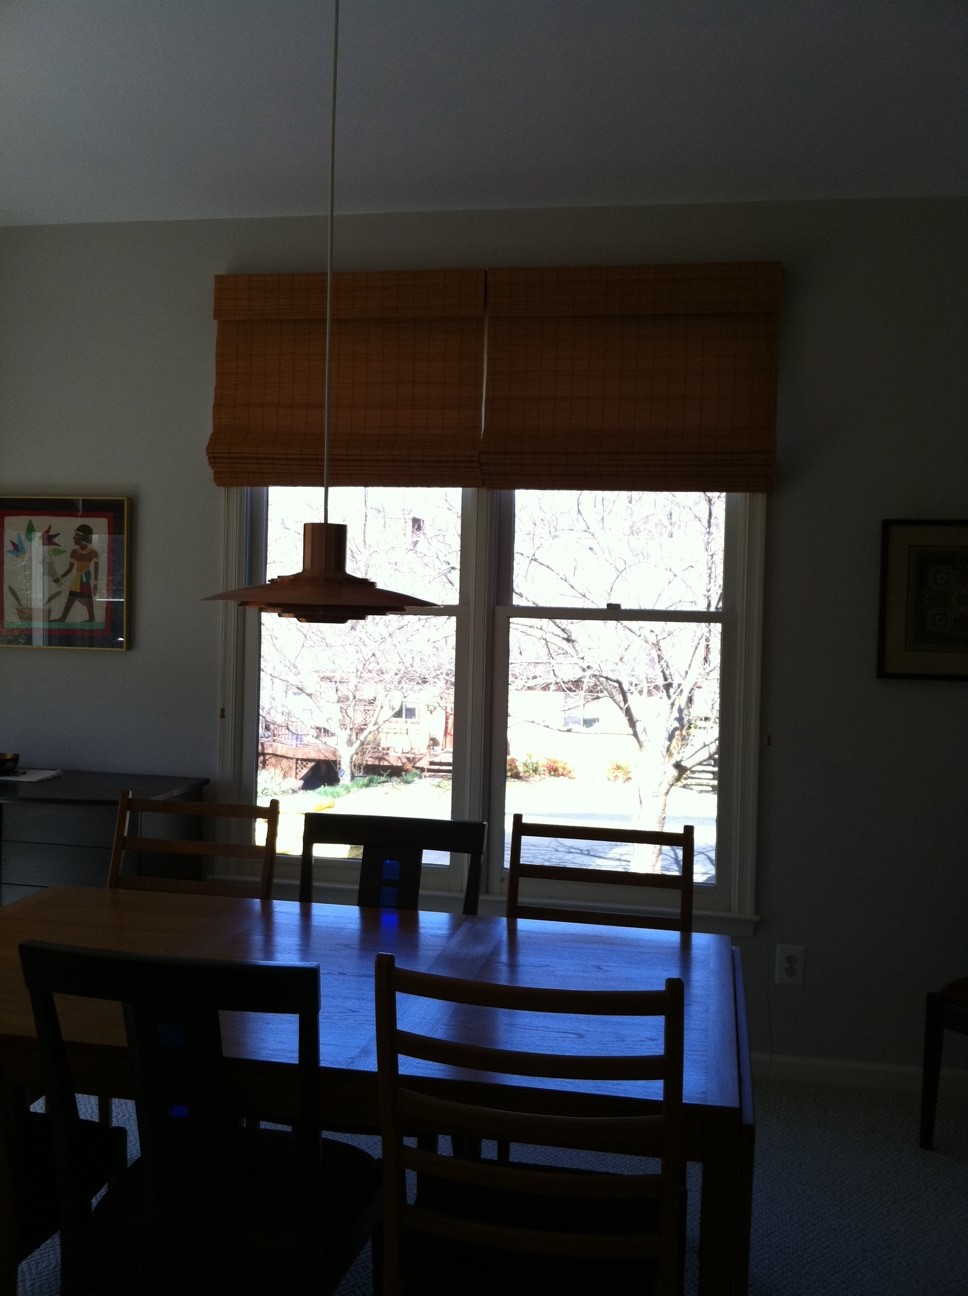
Here are a few shots from my last installation.
 
 
Notice the beautiful symmetry when you have multiple shades repeated. These are Relaxed Roman Shades.
One upgrade I would suggest making when you have multiple shades like these is to get a continuous loop cord instead of a pull cord. It makes it so much easier to adjust all the shades to the exact same height.
Another thing to consider is the lining. Some people will opt for a blackout lining so you can't see where the window underneath stops and the wall begins. We decided against that as the fabric was a pretty, semi-sheer embroidered linen and we liked the lighter look.
Fabric by Kravet
Trim by Stout Bros.
 
We added trim to the bottom edge only, to follow that graceful curve.
Another option is to band the hem, the sides or both with a contrast fabric.
 
Finally, consider the view as you enter the room. Looking in from the door, the windows, table and chair make a charming vignette and invite you in.


Thursday, April 18, 2013

Tricks of the Trade - Window Treatments

You can borrow a trick from fashion when thinking about window treatments for your home.  Ever notice how only one part of your outfit has to be fabulous, while the other pieces play supporting or even wallflower roles?  Think of wearing jeans and a t-shirt with a fantastic, one of a kind necklace. Or those gorgeous crazy-expensive shoes.
The same thing can be done with window treatments. Here's a little video showing some lovely curtains and valances using this trick to great advantage. Sometimes when we break the budget with the fabric cost we just do a simple little treatment (and save on labor). Or we up the ante of a budget minded design by using a trim that is perfect, though pricey. Every once in a while, the drapery hardware is the star of the show. See if you can spot the trick.


Thursday, March 28, 2013

Another DIY

Actually, this is a DI-MY as in Do It Myself.

One of the basement bathrooms in my new house came wallpapered in what I described as faux leather squares. It wasn't offensive or anything and it's masculine style is well suited for it's location next to the bar.

But I had a idea to make it a little more custom.


I bought inexpensive upholstery nailheads in a copper color. Copper seemed appropriate for the color of the wallpaper, and the ceiling outside the bathroom is a copper colored tin.
At the interesections of every 4 squares I pushed in a nailhead. You read that right - I pushed it in. They went in easily with just a little thumb pressure. I only used my hammer on a few near the ceiling.

The effect is really lovely. Subtle, yet interesting.

Tuesday, March 26, 2013

What a Difference a Shade Makes

Here are just a few before and afters, showing what a difference simple woven wood shades can make to a room.
My clients had taken down their off-white fabric Roman shades. They had blended right into the wall color. Hoping for a kiss of color, they chose this Matchstick style from Horizons in a color called Pecan.
It actually had an orange undertone that complimented some copper accents they had in the dining room and a large sectional you can't see in the living room.
Dining Room Side - Before
Dining Room Side - After
Dining Room Bay - Before
Dining Room Bay - After
 
Dining Room Full View - Before
 
Dining Room Full View - After


Monday, March 4, 2013

I Have Expensive Taste

There, I've said it.

It seems I can walk into any kind of store and invariably the thing that catches my eye will have the highest pricetag. When you are wired this way you have to learn something: I am willing to wait (until I can afford it) more than I am willing to settle.

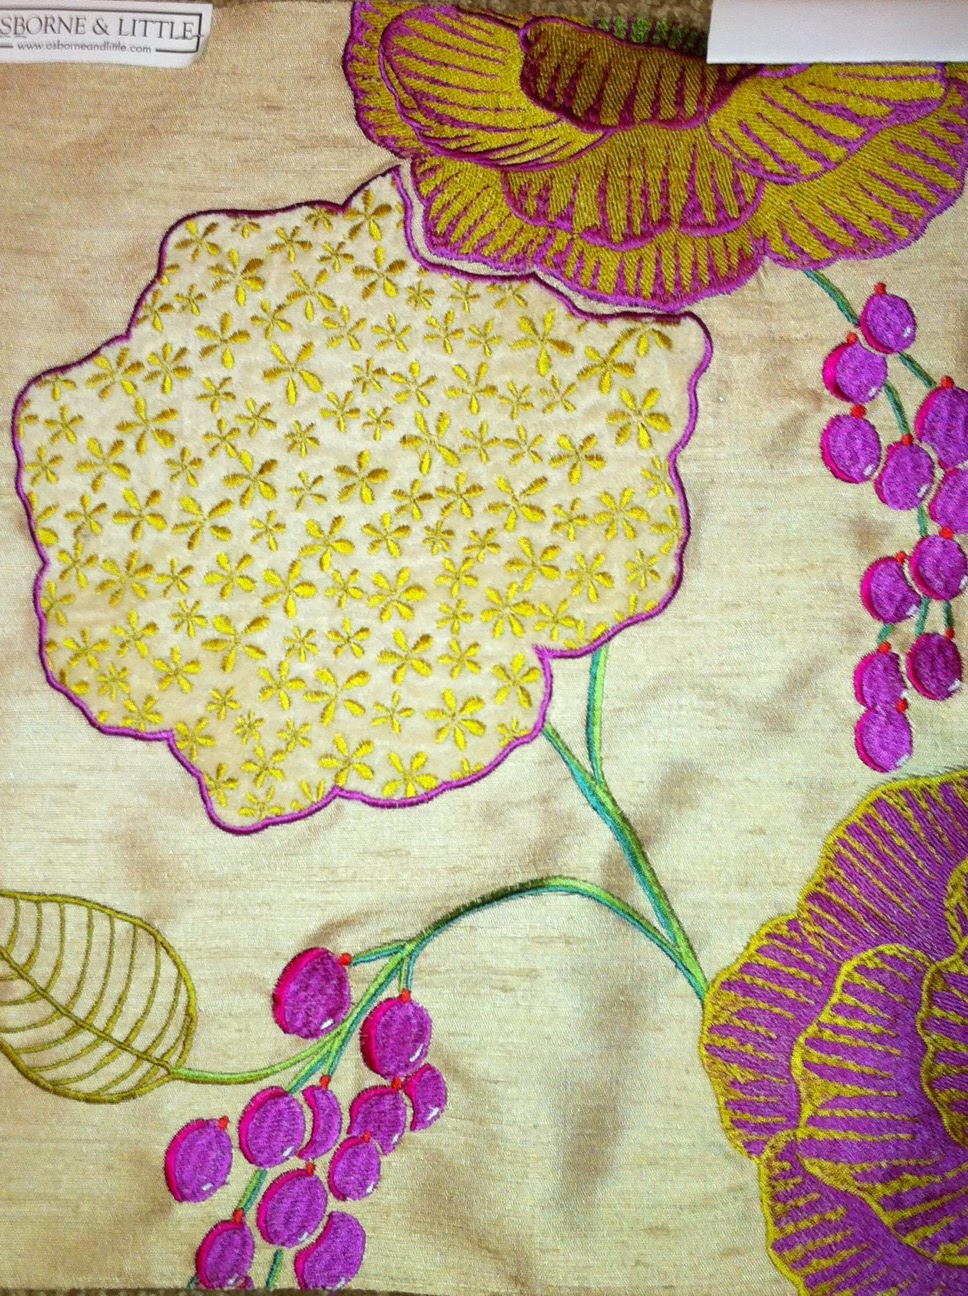
Which brings me to my office decor. The shelves and the desks and the file cabinets and the electronics are set up and sure, I can certainly work in here and I love it. But I have 2 bare windows that are crying for Something Pretty and I have no shortage of resources for Pretty. I have had this Lorca sample (available through Osbourne & Little) hanging up for 3 months and I'm sure I have to have it. It makes me happy.
 
You can see that it is an embroidered silk. The large flower with the green "stars" is actually velvety to the touch.
Did I mention that it retails for about $560.00 per YARD!!!!
 
Then there is the sample I have hanging out in my basement TV room. It is a Vervain fabric, from their Barry Dixon collection. I have been in love with this pattern, Cacao Vine, since it was introduced a couple of years ago.
I have it hanging upside down. The cacao pods look like hot air balloons this way.
 
This one's a bargain compared to the first. Between $200-$300 per yard.
 
Which brings me to a solution that I'd like to share with you. When it comes to decorating with fabric (or Soft Furnishings, as we like to call them) there are so many ways to use JUST A LITTLE of that expensive fabric so you can maximize your budget. Sometimes just one pillow will be enough to satisfy you, but when it comes to window treatments, you have fabric conserving options as well. There are plenty of valances that only use one yard of fabric. You can mix a valance fabric with a less expensive fabric for the draperies underneath.  You can line some valances so the fabric peaks out from underneath, or use it for banding down the vertical edge. A contrast hem, from 5" to 15" at the bottom is also pretty and economical.
The red bottom band could have been longer to use less face fabric.
 
This swag probably used 1 1/2 yds.
 
Cornice boards! You can't see that this was a gorgeous lattice weave silk. Simple sheer panels underneath.
 
More cornices in an embroidered silk.
 
Plain dupioni on top; very expensive embroidered silk 12" hem.
 
Make the tabs a contrast fabric.
 
Each of these valances used approx. 2 yards but these were very large windows (doors).
 
Very flat little valances. Used about 22" of fabric for each.
 
Flat valance. The interest was in the trim and the covered buttons.
 
Simple  silk swag with no cascades.
 
A bed corona. I didn't make this, but you could do something less elaborate to conserve fabric. I like the mix, though.


Friday, February 15, 2013

DIY'ers..Here's one for you!


There are a lot of holes in this house. Holes where speakers used to be. Holes where control panels used to be. A hole where there used to be a medicine cabinet. Holes in the ceiling where the roof leaked. Holes where doorknobs used to be. (that is the oddest one, I think. Who takes doorknobs with them?)
There was a very large hole where there used to be a very large stove. So we had to purchase a new stove to fill that one if we ever wanted to eat dinner - or scrambled eggs - again. There were also holes where dishwashers went. The kitchen had 2 dishwashers and the downstairs bar had one. I was lucky enough to buy a stove that came with a free dishwasher and there was one left behind so I only need to get one, eventually for the bar. There were 3 holes where there used to be wine coolers. One in the butler's pantry, one in the master bedroom and one down in the bar.  Those holes in particular were driving me crazy because they ruined the pretty look and also, I had filled each one with junk or boxes. (The butler's pantry hole housed my tool box and drill -- very handy for my constant repairs but boy, what an eyesore).

 I scored big last week at Bed Bath & Beyond. I found a lined curtain panel for $9.99 that I intended to use as a shower curtain. When I got it home I found that it wasn't wide enough but it WAS the perfect color. So I decided to make a cafe curtain to cover the hole in the butler's pantry. My idea was to cut the bottom off and hem it to size, using the existing rod pocket and header (which forms the top ruffle) with a tension rod. No sewing maching and no drilling required.
Here you can see just how unattractive some ready made curtains really are. Wrinkly! You have GOT to iron those things if you are going to use them. Also I told a designer friend I was using my upstairs landing as a cutting table. She was spray painting a chandelier, bead by bead, at the time. She said, "Oh the things we do for ourselves that we would never do for clients!"


Once I cut the piece off I realized I had enough for another curtain. This time I flipped it upside down and used the hem as a rodpocket and just hand sewed the hem at the bottom.
This is the finished curtain (ironed!!) in the butler's pantry.My tool box and drill are hiding behind it.
This is the downstairs bar. Home of a future dishwasher.

If you've been doing the math, it means I got 2 curtain panels for $5.00 each. While they are not as nice a fabric as I would normally choose, they are certainly the most cost effective solution I could have for something that is most definitly going to be replaced within the next 6 months.

Friday, February 8, 2013

Details! Details!


Was quite taken with this chair in the lobby of the Washington Design Center. Luscious fabrics. Gorgeous colors! Wonderful variety of textures. All by Scalamandre.
Check out the arm detail. A piece of silk was inserted as a band on the arm and then nail heads were added. Almost too pretty to sit on.
Almost.